Custom Residential Homes Designed
with Chief Architect Home Design Software
Last Update: April 11, 2010
| The following two homes were designed using Chief Architect software. Chief Architect has two lines of home design software products the Chief Architect Professional line and the Chief Architect Consumer line. Most professionals builders, architects or designers use the Professional line while home enthusiasts use the Consumer line known as Home Designer.
If you’re a home owner like me, don’t be afraid to design your own home. You might find you have more control of the details; however, also know when you’re over your head and hire a professional!! The great thing about the home design software by Chief Architect is you can use the Home Designer version at an affordable price ($50 to $500) and then either upgrade to the higher end versions as you need the features - and/or - send the plan to be finished by a professional home designer. Professionals can read the plan file so you don’t have to start from scratch. Below are two homes designed with Chief Architect in Coeur d'Alene / Hayden Lake, Idaho. The Hayden Lake home is currently being documented on a step-by-step process. Projected finish date ~ summer 2010.
|
 |
The
Hayden Lake Home Design
2009/2010 - Residential Home Construction Project Diary
| The process of residential construction on 'The Hayden Lake' project - the home was owner designed using Chief Architect software. I had planned to run the general contracting; but, as I began to get bids and spoke to contractors - I realized that with their buying power and experience it simply made sense to hire a professional builder. The other consideration is that a builder knows the subcontractors AND they will use them on future jobs. If I hire a subcontractor directly, they know I would not hire them on a future job; therefore, I likely would not have the same respect and performance on the job. My cost goal in using a builder is to pay for their fee by getting better bids from the subcontractors. Also keep in mind, if you need bank financing for a construction loan, you will almost be guaranteed to be turned down by the bank if you don’t have building credentials - so yet another reason to hire a professional builder / developer. The bid process I went through was very helpful in generating my budget prior to starting the project. If you are thinking of building your own house, here’s a budget template I used. Construction began October 2009 with Ginno Construction; the projected finish is likely late summer 2010 - we’ll see. Stay tuned; as I’m posting more as the project continues....
|
 |
|
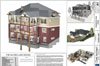
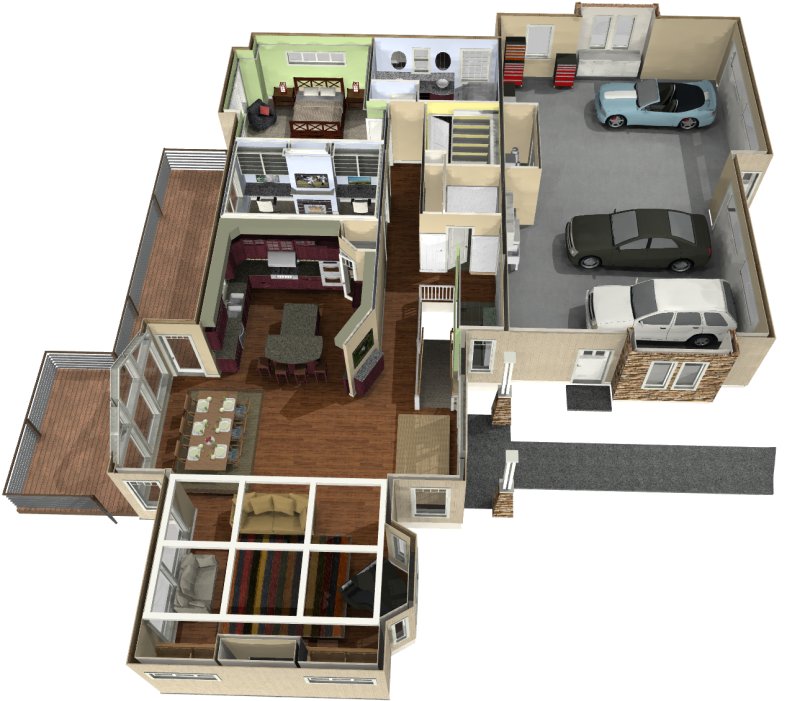
House Plan & 3D House Renderings All the images below are renderings from the Chief Architect design software - click to view a larger image |
||||
 |
 |
 |
 |
 |
|
These are the 'final' plans for the permits and construction. I probably have a few hundred hours into drawing the plans since we bought the lot started designing, redesigning over-and-over until we sold our other house. However, I'm glad it took a while since many changes came about as we toured open houses and decided what was really important for our house. I liked designing the house myself since I could be involved and make the specific changes and then visualize them in 3D. If I would have used an outside architect or home designer, I suppose I would have run up the bill or just would not have invested the money in making all the changes |
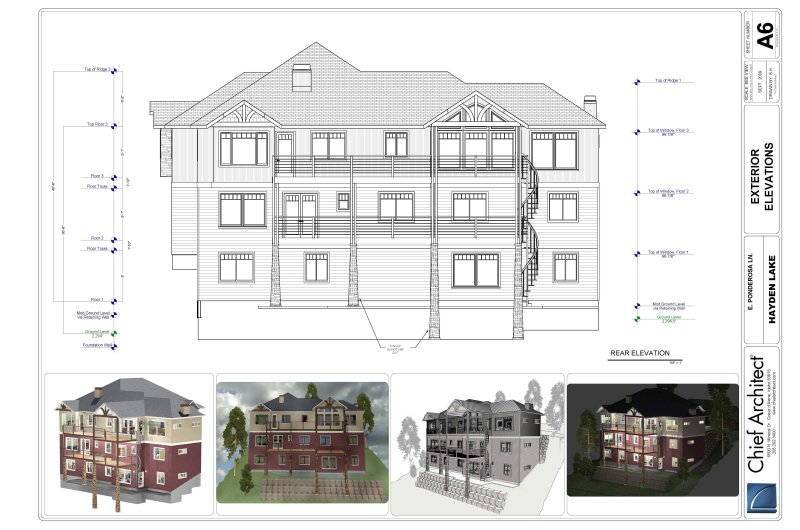
This rendering above is the rear of the home. Rendered with Chief Architect as the higher quality 'raytrace' image that show reflections shadows, and radiosity |
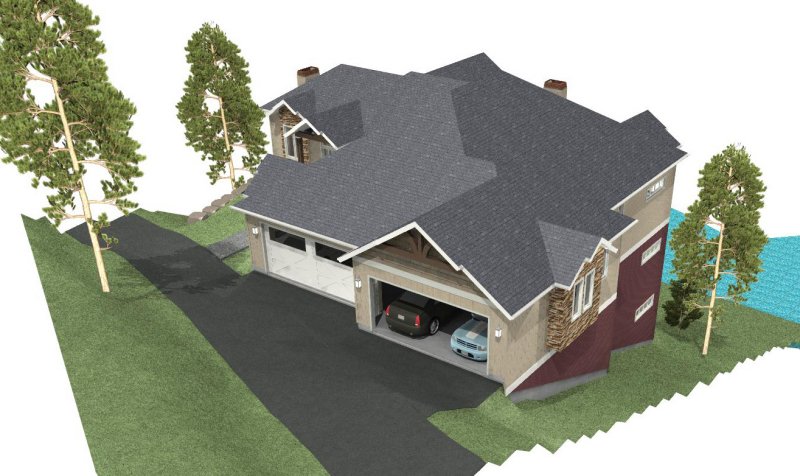
I modeled all the terrain for the design. Chief Architect works pretty well as modeling the terrain. You can also set the north pointer as well as the latitude and longitude; and time of day to get accurate sun information to best position your home on the lot. In my case this was very important to avoid the heat gain on the rear of the home, so I rotated it further to the south. This is a very helpful feature when modeling your home with home design software |
Similar view; but from the south side. It’s nice to visualization the house and the terrain. Since our survey data was available from the survey firm electronically (.DWG)- I imported that data and was able to generate the 3D information for the sloped lot |
This rendering is an artistic rendering called 'Technical Illustration'. Chief Architect also supports watercolor and line drawing - nice views for the artistic conceptual view. |
 |
 |
 |
 |
 |
|
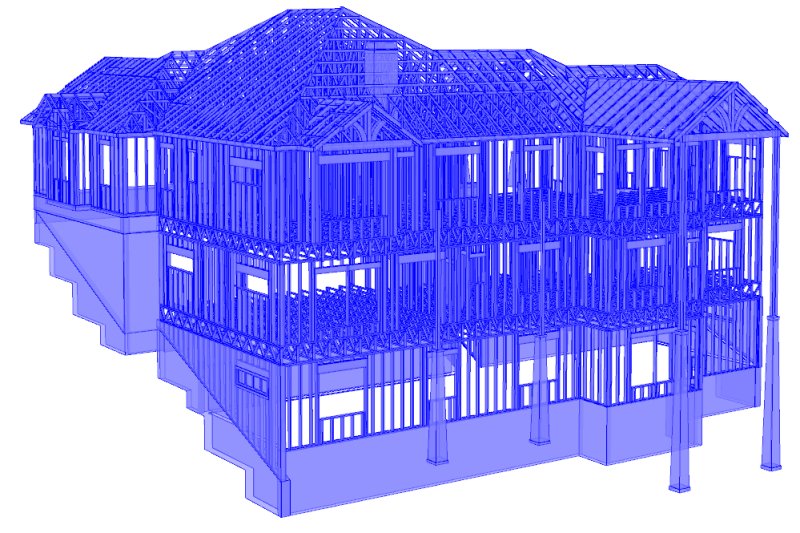
This is a 'Glass House' rendering. Kind of nice to see thru surfaces. All the rendering views work like filters. You can quickly toggle thru them |
Chief Architect software includes several camera filters that you can use for various views; This is the watercolor view |
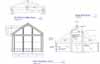
Rear Elevation. The Elevation camera is linked to the design model - any time you make change - e.g., move a window the model updates |
Side View Elevation with supporting renderings |
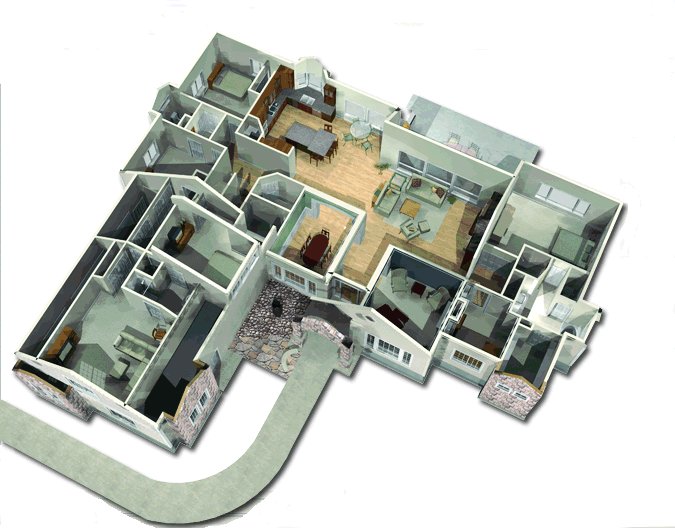
The Doll House or Overview 3D house view is an excellent tool for visualizing the floor layout and for space planning |
|
House Location / Pre-Construction |
||||
 Lake View from Dock |  Dock looking up to lot |  Looking up the lot |  Looking down to Hayden Lake |  Winter - across the lake to the lot |
| House Terrain & Site Work / Foundation | ||||
 Oct. 5 - Tree removal |  Construction trailer |  Driveway view |  Track Hoe |  Excavating on a 38 degree slope. The excavator had 40 yrs. of experience - good thing with the slope and the rocks |
 Lower foundation. The excavation and retaining walls are not an area you can cut back on unfortunately. |  Fresh Ideas for our backyard grilling! |  Lower Foundation wall - will be covered by dirt once the retaining wall is in place. | 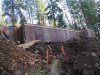 Lower Foundation wall. | 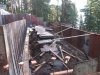 |
 View toward the lake |  This wall will be 22’, serves as a retaining wall and foundation wall. Footings are 6’6” wide x 14” thick - $$ | 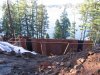 View from the driveway | 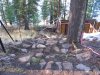 Stairs from the driveway | 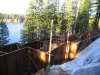 View from the driveway |
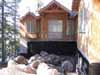
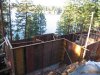 View from the driveway |  Oct. 31 rear foundation view |  Rear foundation view |  The Dock on a sunny October day |  Rear foundation view |
 Rear foundation view |  Side foundation view |  Side foundation view |  Side foundation view |  Nov. 2 - Concrete Day |
 Concrete Day - Crew |  |  Concrete Pump Truck |  |  80 yards in this pour |
 Job Supervisor |  Concrete creates a lot of pressure with the 80 yard pour - good to have the forms hold |  |  Boom to Pump the Concrete |  Nov. 8 - Raining. Wall is 22’ high. |
 On Nov. 4 & 5 forms were removed |  Lower View of Foundation | 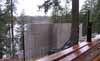 Top View. Next: waterproofing, backfill, garage foundation | 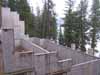 Looking to the South | 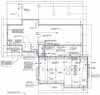 Foundation Plan - Details for the Concrete Layout |
 Nov. 14 - Basement gets rock fill | 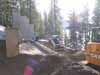 22 Dump Trucks / 308 cu. yards of fill for the basement and crawl space | 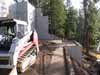 They lowered a Bobcat and Mini-Track hoe to fill the basement - followed by a compactor | 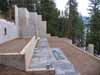 Basement & Crawl Space - ready for rough plumbing, then concrete | 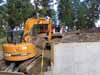 Nov. 21 - Building the Lower Rock Retaining Wall - moving the material down |
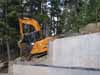 The excavator has to move material several times to get to the back of the house |  This is the beginning of the Lower Rock Retaining Wall |  Lower Rock Retaining Wall |  Lower Rock Retaining Wall |  Lower Rock Retaining Wall |
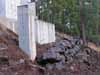 Lower Rock Retaining Wall - 4’ to go |  Basement slab |  Dec. 1 - Garage Footings |  Garage Footings ~38 yards |  Dec. 5 -Garage will be ‘floated’ above the ground on piers |
 Garage Foundation Walls, 20 degrees ... |  The Garage Foundation is the last of the major concrete |  Rebar is drilled and epoxied into the existing wall concrete wall |  View from the top down | 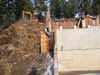 View from the bottom up |
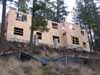
| House Framing - SheetRock - Siding | ||||
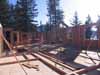
 Dec. 16 - House Framing begins! | 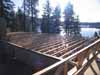 Dec. 24 - Floor for the second level |  Framing moves forward, slooowly | 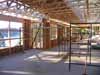 Dec. 25 - Christmas Day 2009 |  |
 Dec. 25 - Christmas Day 2009 | 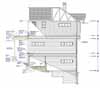 Section Detail of the House |  | 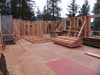 Jan. 3, 2010 - 2nd floor framing |  |
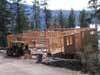
 |  Jan. 13 - Lower wall garage framing | 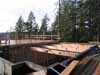 Beams for the garage subfloor | 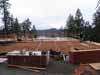 Joists for the garage subfloor. 1.25” of sheathing then 4” of concrete will be applied on top. |  Jan. 18-22 - Main Floor Framing |
 Garage/House Wall |  Garage/House Wall |  | 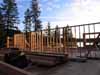 |  Gable Wall. To prevent the walls from ‘splaying’ there’s a 16’ threaded rod that runs the length of the wall in between the upper and lower windows. |
 Detail on the Gable Wall |  Gable Wall as they use the wall jacks to raise the wall |  | 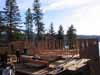 Beams for the garage subfloor | 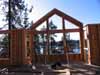 |
 |  |  |  Front Entry area | 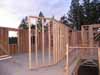 The angled wall forms the exterior for the kitchen |
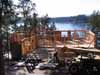
 Evening Overview | 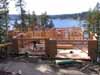 |  From across the lake |  Jan. 30 -Prepare for the iron columns |  2 sizes of columns: 25’ and 41’ |
 Setting the two smaller columns went pretty fast w/o problems |  |  41’ column / 3,000 lbs |  |  |
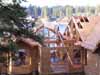
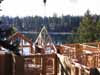 |  |  |  |  Roof framing begins to take shape |
 |  |  Building the Vault for the Great Room | 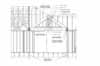 Section Detail of the Vaulted Ceiling. Using the "Back Clipped Section Tool" you can create a slice of the Detail needed | 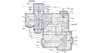 Roof Framing Plan |
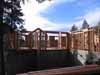
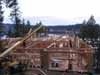
 3D Software Rendering of the Roof - it is quite helpful to see how the roof framing goes together |  Glass House view of the Roof Framing | 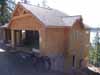 House Framing nears completion |  Front Entry - a retaining wall will be built, then compacted fill | 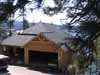 |
 Rear Framing view |  An 80 ton crane set the 41 foot columns - the 60 ton crane could not reach | 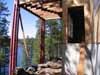 | 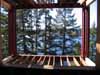 View from the middle floor | 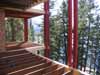 Deck access from the middle floor |
 Some of beams combined with the metal truss weighed ~900 lbs. They were set w/o a crane.... | 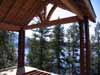 Covered Deck - decorative truss |  Vault for the Great Room | 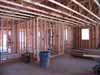 Garage | 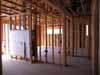 Office w/ see thru-fireplace |
 Master Bedroom | 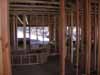 Master Bath | 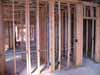 Middle Floor | 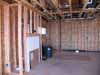 Entertainment Room |  Low Voltage wiring into the structured media panel; it will look better when the wires are terminated |
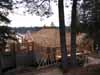
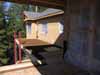
 Front Entry | 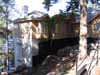 Retaining Wall; still needs go up 15 feet+ |  Lower view of the Retaining Wall | 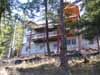 |  Hanging the Siding is time consuming. They cut the boards on the ground and and then rope them up |
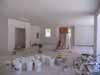 Sheet rock begins March 25; Taping on April 1. Garage... | 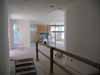 | 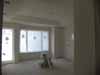 Master Bedroom; Trey Ceiling | 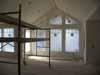 Great Room |  View into the Kitchen |
 Entertainment Room | 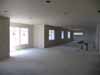 Basement | |||
The WoodStone


Renderings with Chief Architect Home Design Software